
You may have noticed that clients using Cirrus upload files to checklists, but you do not get a notification. This could be because they are not clicking "Submit"
In an effort to make sure you don't get too many notifications, when a borrower uploads files to a Checklist that you sent them, you will not receive an in-app notification or email until they click the Submit button. This is assuming you have enabled the notification setting to let you know when files have been uploaded to a checklist.
Below, please watch a short video with instructions on how to customize your borrower's view so that they don't forget to click submit!
Here are the instructions in writing:
- Go to Administration > System Setup > Settings > and click the Borrower Interface tab
- Scroll to the bottom of this screen and add your instructional text to the "Sent Checklist Message" field
- You can format text, add bulleted instructions, bold, change font size, etc using the options at the top of the field.
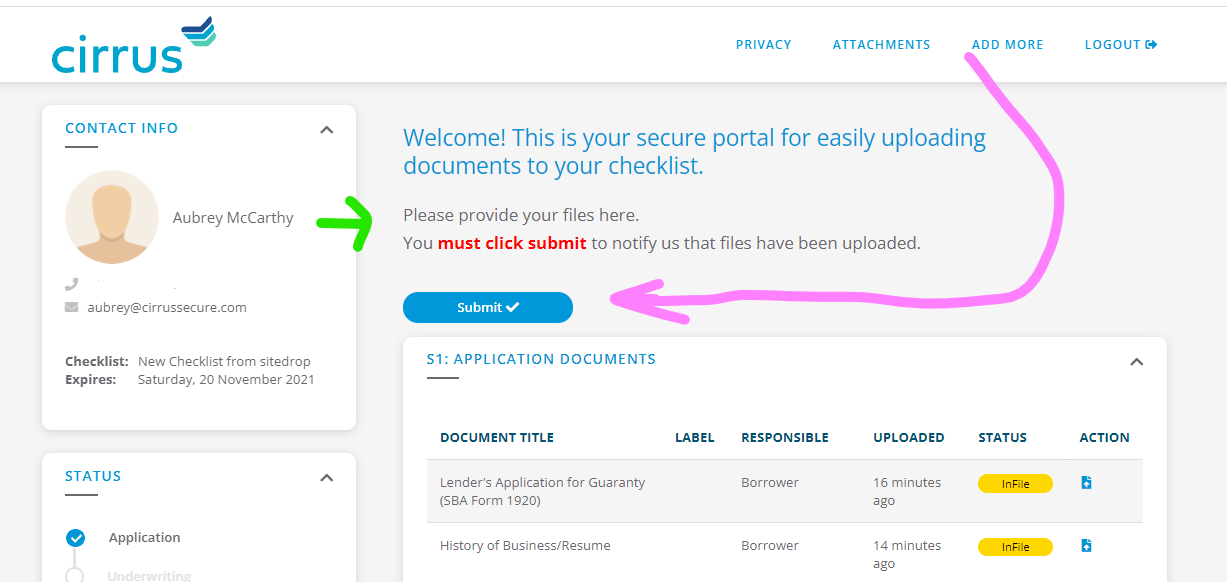
- Tip: Put a one-line return after your text so that the submit button is not right next to the text.
- To move the Submit button placement from the top ribbon to the main body of the page, change "Sent Checklist Submit Button Placement" to Body from Header (defualt)
- Don't forget to Save at the top!
- Go review changes in the Client View of a Sent Checklist.
If you make these changes, but do not see the changes on the Sent Checklist/Package view, then please contact us.