This article will walk you through adding Doc Titles to a checklist
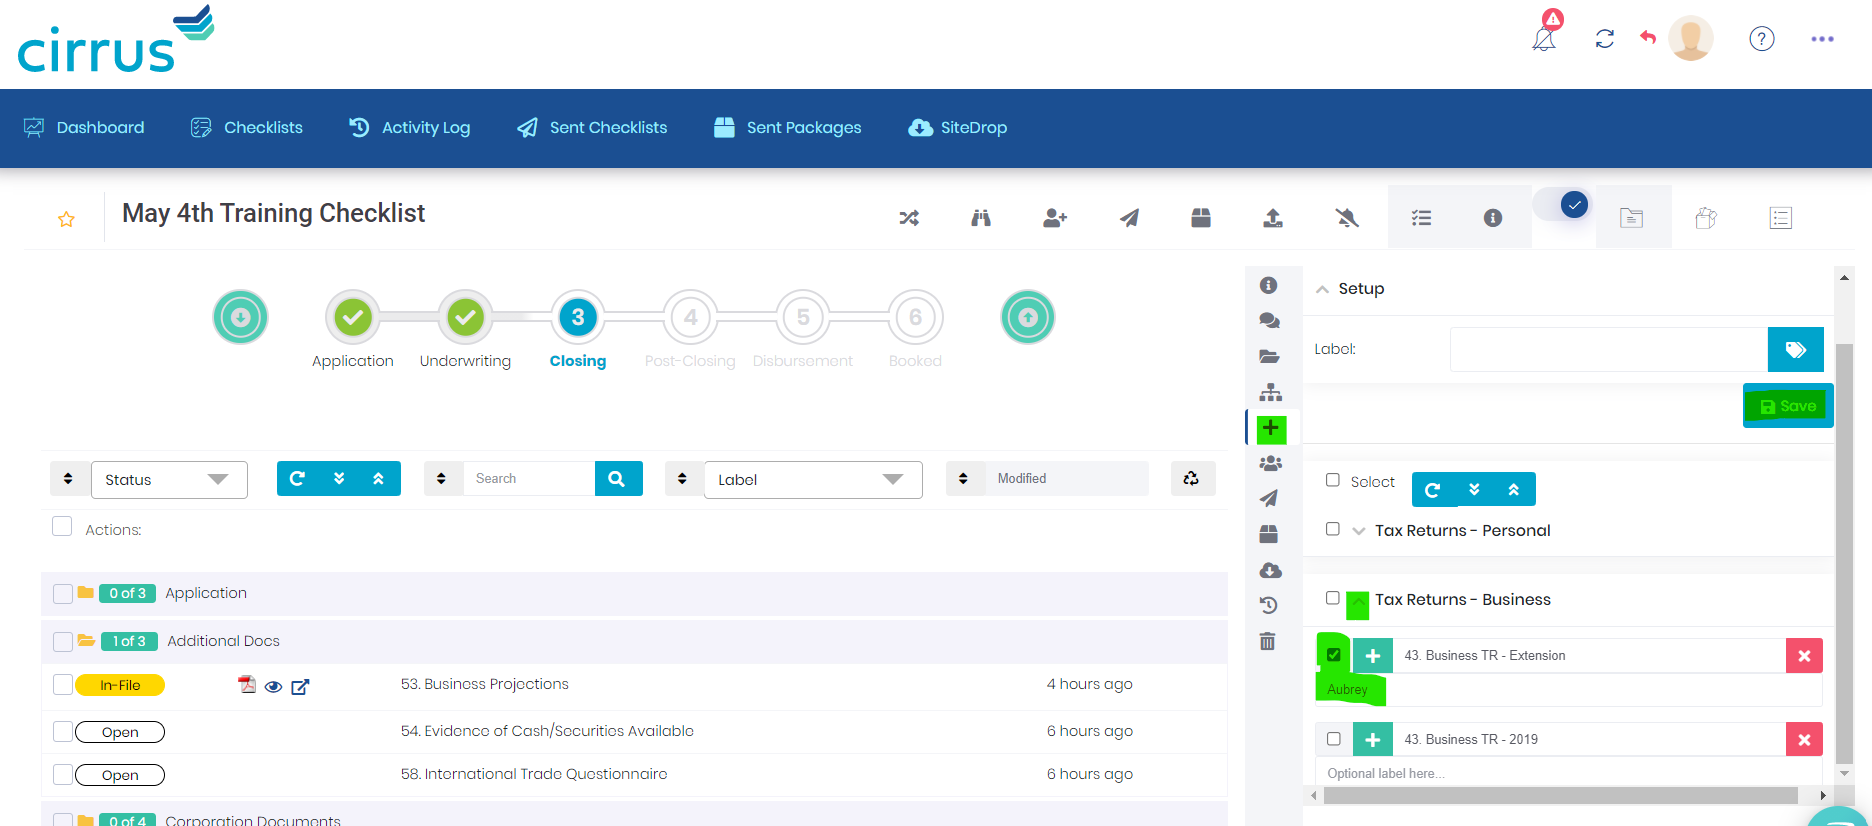
Modifying a checklist to add additional Doc Titles can be important to ensuring all of the correct documents are received during the loan process. Click the Plus Sign in the vertical strip of Icons on your checklist.
When the menu is open, you will see different filter options at the top, which can be used to identify a group or category of documents. Below that, you will see the list of all documents that can be added.
Depending on your Group, you may or may not see specific documents, but you can always ask your site admin to provide access to any missing documents.
To add the documents in the menu, simply check the boxes next to each doc title you would like to add, and label them if necessary. Once you have everything you want to add selected and labeled, click “Save” to add it to your checklist.
To label more than one doc title at a time, select the relevant doc titles, and then use the label field at the top of the list of doc titles. Type in the label and then click the double tag button to the far right, and it will label all of the selected doc titles.
